Hand Laid Turnout Tutorial
Page 7
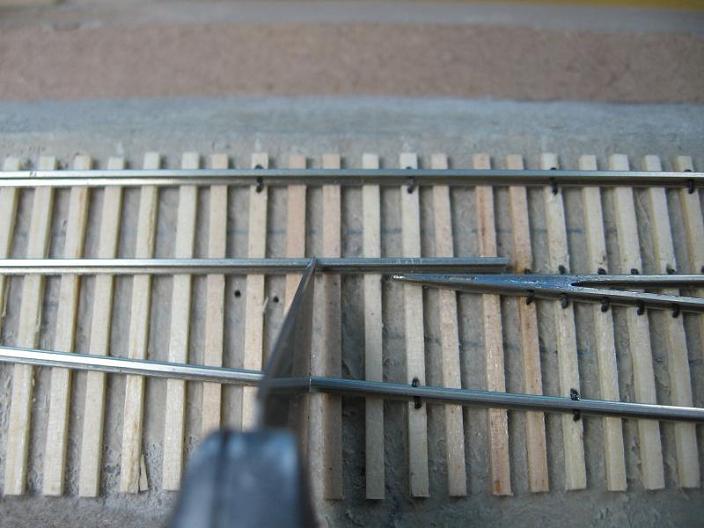
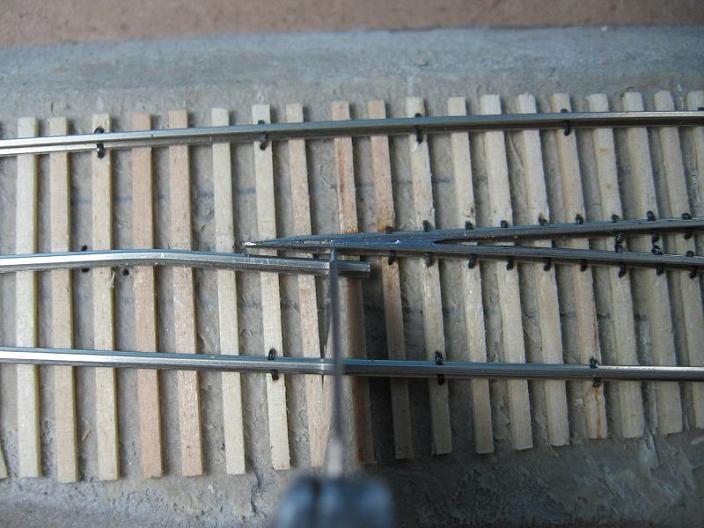
With the straight route's closure rail back in place, we'll mark where to put the bend in the rail.
This to me is one of the hardest parts of hand laying a turnout. We need to get the bend at the right spot. The distance that you come back on the rail varies between turnout sizes. I have found that with a #10 turnout that the bend needs to be about 2 tie lengths back from the frog point. So we'll take and mark the rail at that location for bending.
I take the rail and put it into my pliers, keeping the rail level in the pliers and at 90 degrees to them.
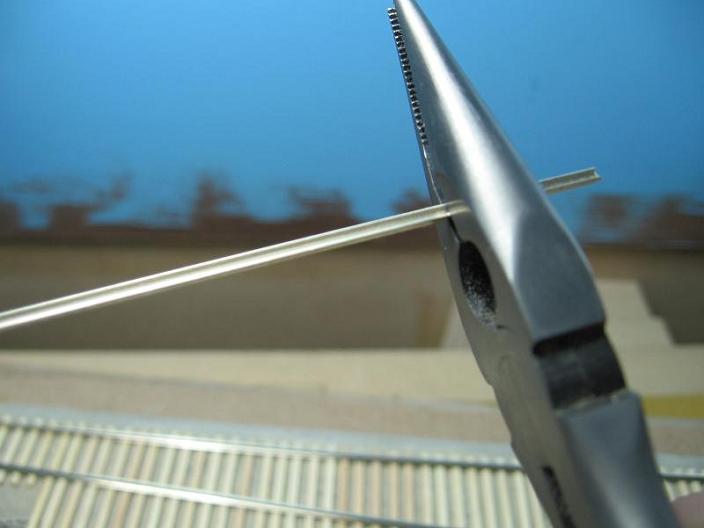
With a turnout this large, it will only take a slight bend in the rail. If you bend the rail too far, it's ok, just bend it back. Keep checking the bend until it's parallel with the frog point.
Also sight down the other side of the frog point, making sure that the closure rail is nice and even with the frog point rail.
Also sight up the rail from the throwbar end, and it should be nice and even when looking from that direction also. IF you see the frog point sticking out a little, then you'll have to rebend the rail further away from the frog point until the rail is straight and even.
Like I said, this is the hardest part IMO. When you are doing a turnout, you might take and bend the rail, check it, and have to straighten it back out to bend it in a different spot. The more turnouts you do, the more you will know just how many ties you'll come back before you put the bend in the rail.
Another thing I like to do is keep my wing rails nice and snug with the frog point, to the point that the web of each rail is touching, and most times closer. This is why I file down the outside web and head of the frog point. Consequently, this also requires me to adjust most of my locomotive wheels, since alot of the time they are under gauged. I don't like any slop in the wheels when going through the frog.
If this is not to your liking, then you'll have to mark the "where to bend" area further back so the wing rail ends up with a larger gap between it and the frog point. The downfall to this is the gap between the closure rail and frog point becomes bigger and then you'll have freight car wheels wanting to fall into it. So it's a trade off. I like the tighter clearances, you may not, but it's real easy to try both ways.
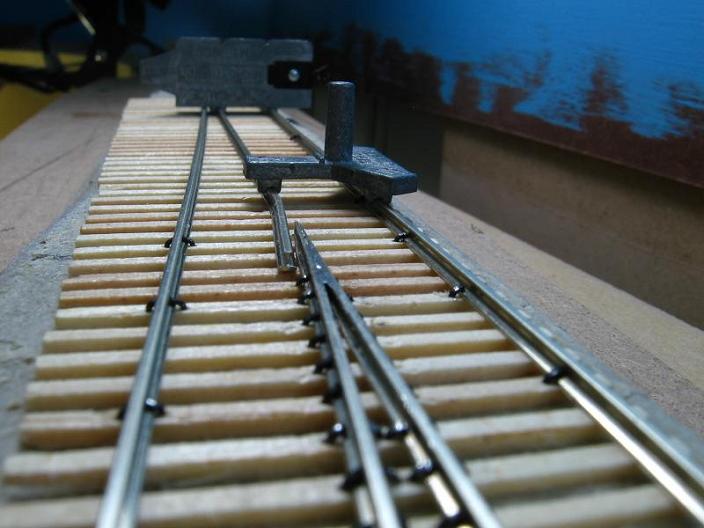
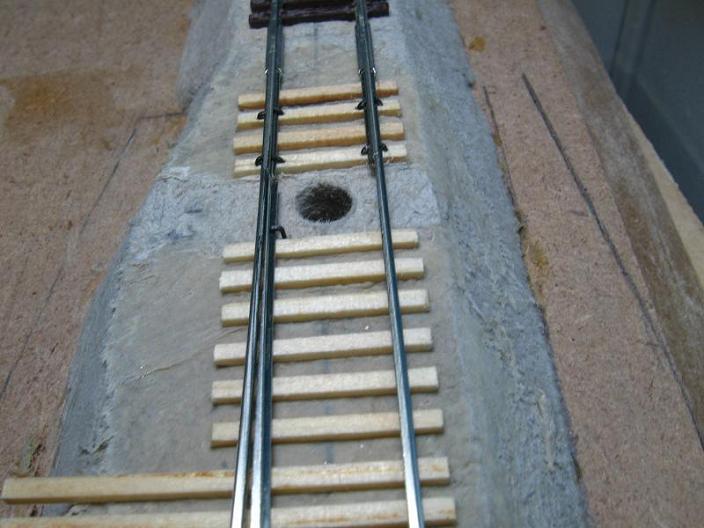
Ok, back to the closure rail, here is what it looks like with the track gauges on it and sitting in the correct place

Now we can temporarily spike down this rail and run a few cars through it to make sure it's sitting in the correct location.
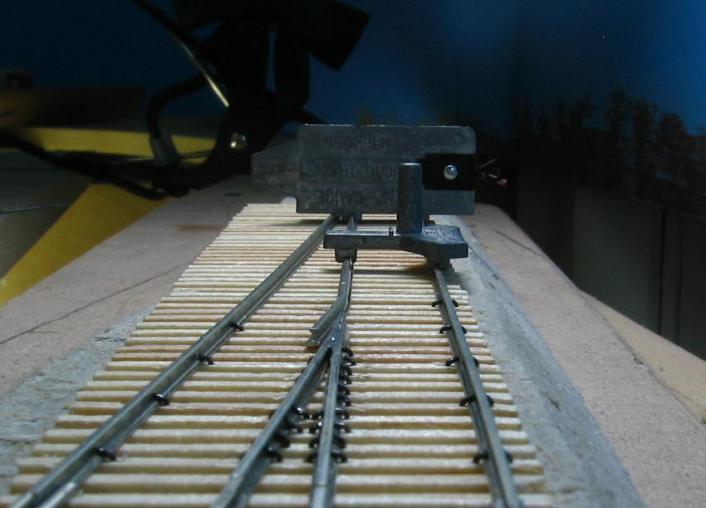
Take an put a spike in back at the throwbar location, right behind one of the ties but not in the tie. Also make sure the rail is all the way back in the notch in the stock rail.
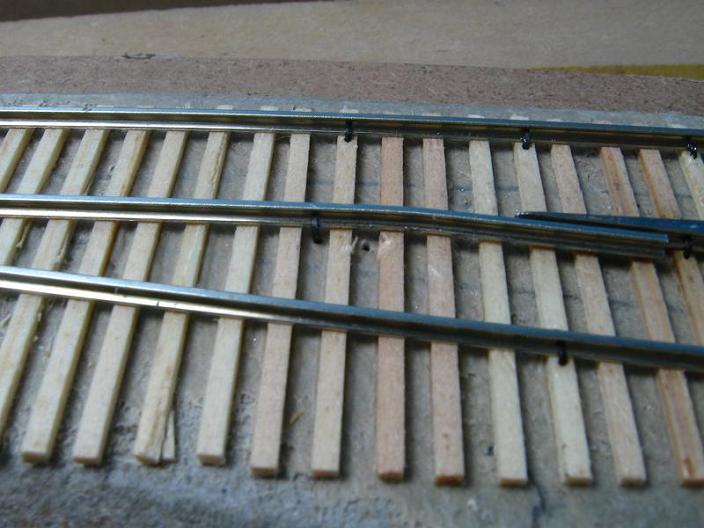
Now we can go up to the frog area and put in 2 more temp spikes, one on each side of the rail, but not in any ties.
To test out a turnout, take 2 of your biggest or most finicky cars and roll them back and fourth through the turnout. Give them a push and let them coast by themselves through the turnout both ways. I use autoracks since they are both the biggest and most finicky cars I own.
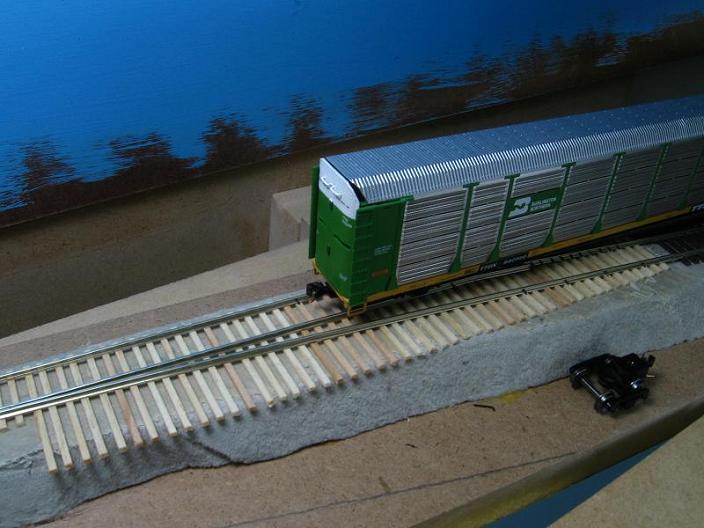
If your cars coast back and fourth through the turnout numerous times without rocking or picking the frog point, then congratulations, you put the bend in the perfect spot! If your cars pick the frog almost every time, then you'll need to adjust the bend in the rail. Picking the frog point a few times is OK, since we don't have the guard rail in yet. But we don't want to rely on the guard rail to save our wheels from picking the point every time.
You will need to get this rail perfect, since the other closure rail relies on this rail to be in the correct spot, and vice versa. So take your time, and if put too many bends in this rail and it gets all uneven and "wrinkly", then start over with another piece of rail. Rail is cheap.
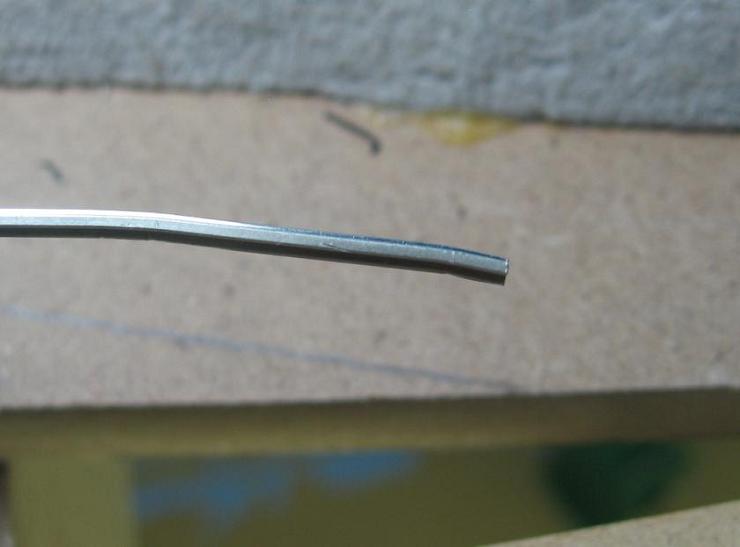
One last thing that needs to be done is putting a slight bend in the end of the wing rail. This will help pull the wheels into the correct alignment to run through the frog.
I take and mark the rail one tie length back from the end.
Put the rail back into the pliers and give it a slight bend. It doesn't need to be bent real far, just a little bit.
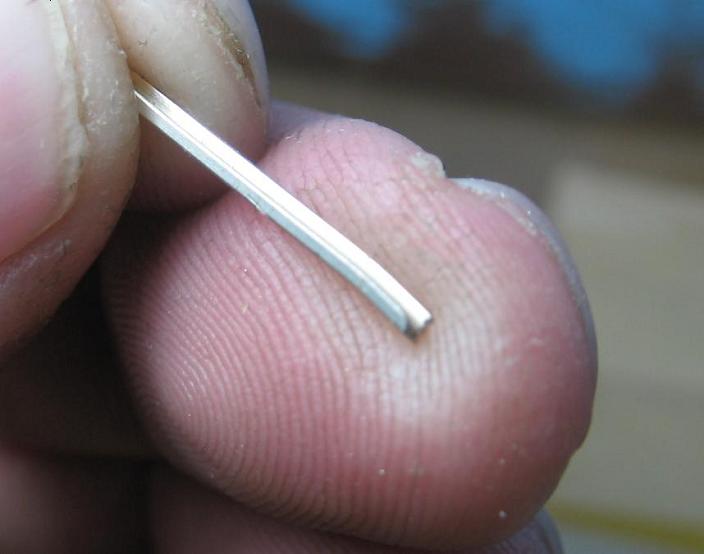
I also take and file a small angle in the head of the rail both on the side, and on the end.
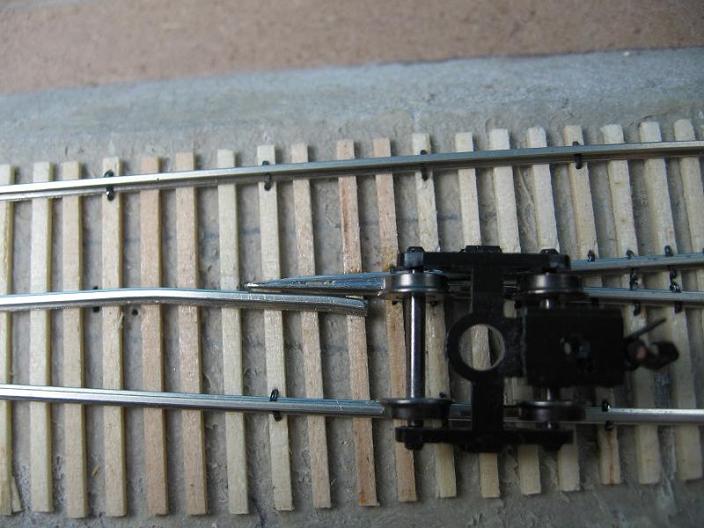
Now we can sit the rail back in place and check that we put a big enough bend in the rail. Take and run the trucks/wheels through it and make sure the flange of the wheel doesn't make contact with the wing rail.
All material on The Owens Valley Subdivision website is Copyright 2007-2009 by Michael Stoner. None of the material (including text and photographs) on this web site may be reproduced in any form without prior written permission.